Create a Folder to Organize Documents
If you are sharing a lot of files and documents in your course, you may want to utilize LMS’s folder resource to organize them. This makes your course easier to navigate and allows your students to find and understand the resources they need. As an example of how you might use folders, see the screenshots below. The first module contains a PowerPoint file, a Word file, and 3 PDF files. In the second picture, the PDFs have been consolidated into a Folder resource labeled "Week 3 reading."
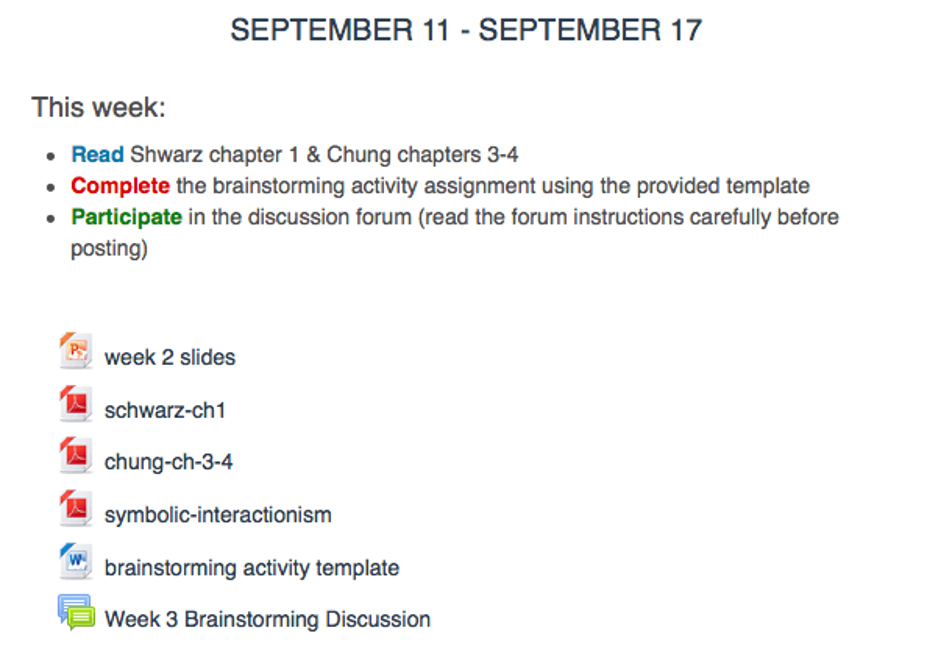
PDFs uploaded to a Moodle page
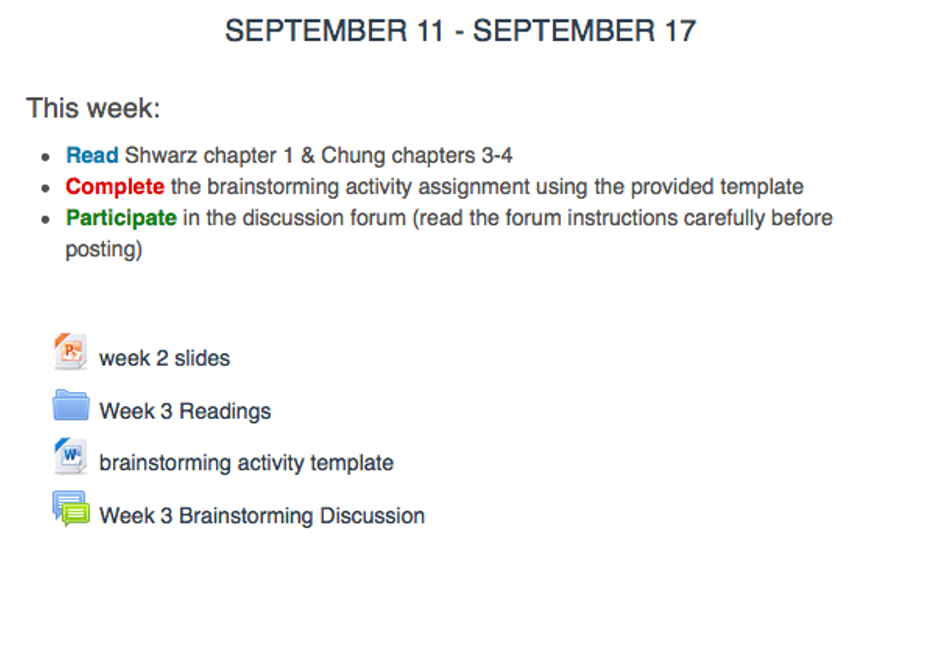
PDFs have been consolidated into a folder
Tip: If you upload a ZIP file that contains multiple files, the LMS will offer to automatically unzip the files and place them into a folder for you. Make sure to Turn editing on before getting started with this guide.
Video Overview
ADD THE FOLDER RESOURCE
- In the week you want to add the folder to, click Add an activity or resource
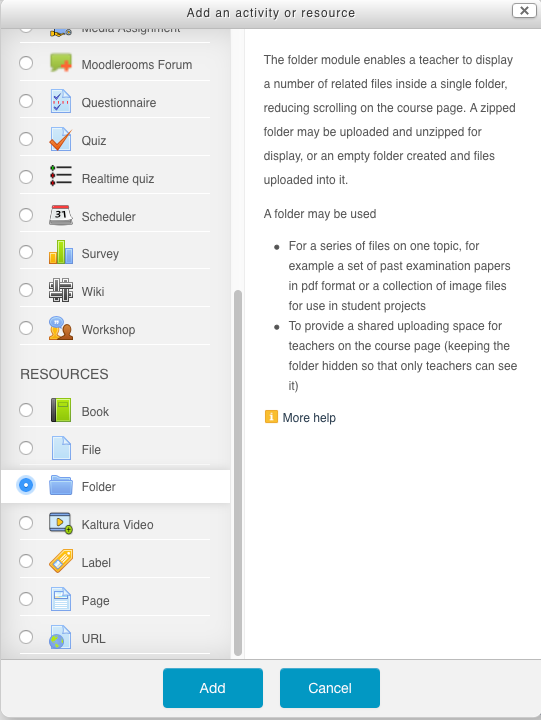
- From the list of available resources, select Folder and click Add.
EDIT THE FOLDER SETTINGS
- Enter a "Name" for the folder and details in the "Description" area.
- In the "Content" section, specify how you want the folder to appear. If you choose to have the folder contents display on a separate page, students can click on the folder resource to access the file contents. If you choose to display the folder contents inline, the students will see the folder contents on the course page (see example below). Students can download all of the files at once by clicking the Download folder button.

- To add your files to the folder, just drag and drop files into the upload area.