Create a Grouping
Created On September 04, 2023
Last Updated On September 09, 2023
If you plan to use more than one configuration of groups, you will need to set up groupings, or "Groups of groups." This will allow you to specify which groups apply to which activities in our LMS.
Part 1
ADDING THE GROUPINGS
- Open the course you want to add groupings to.
- From the "Course administration" menu, select Groups from the Participants drop-down.

- Go to the "Groupings" tab.
- Click Create grouping.

- Add a "Grouping name" and optionally add a description.
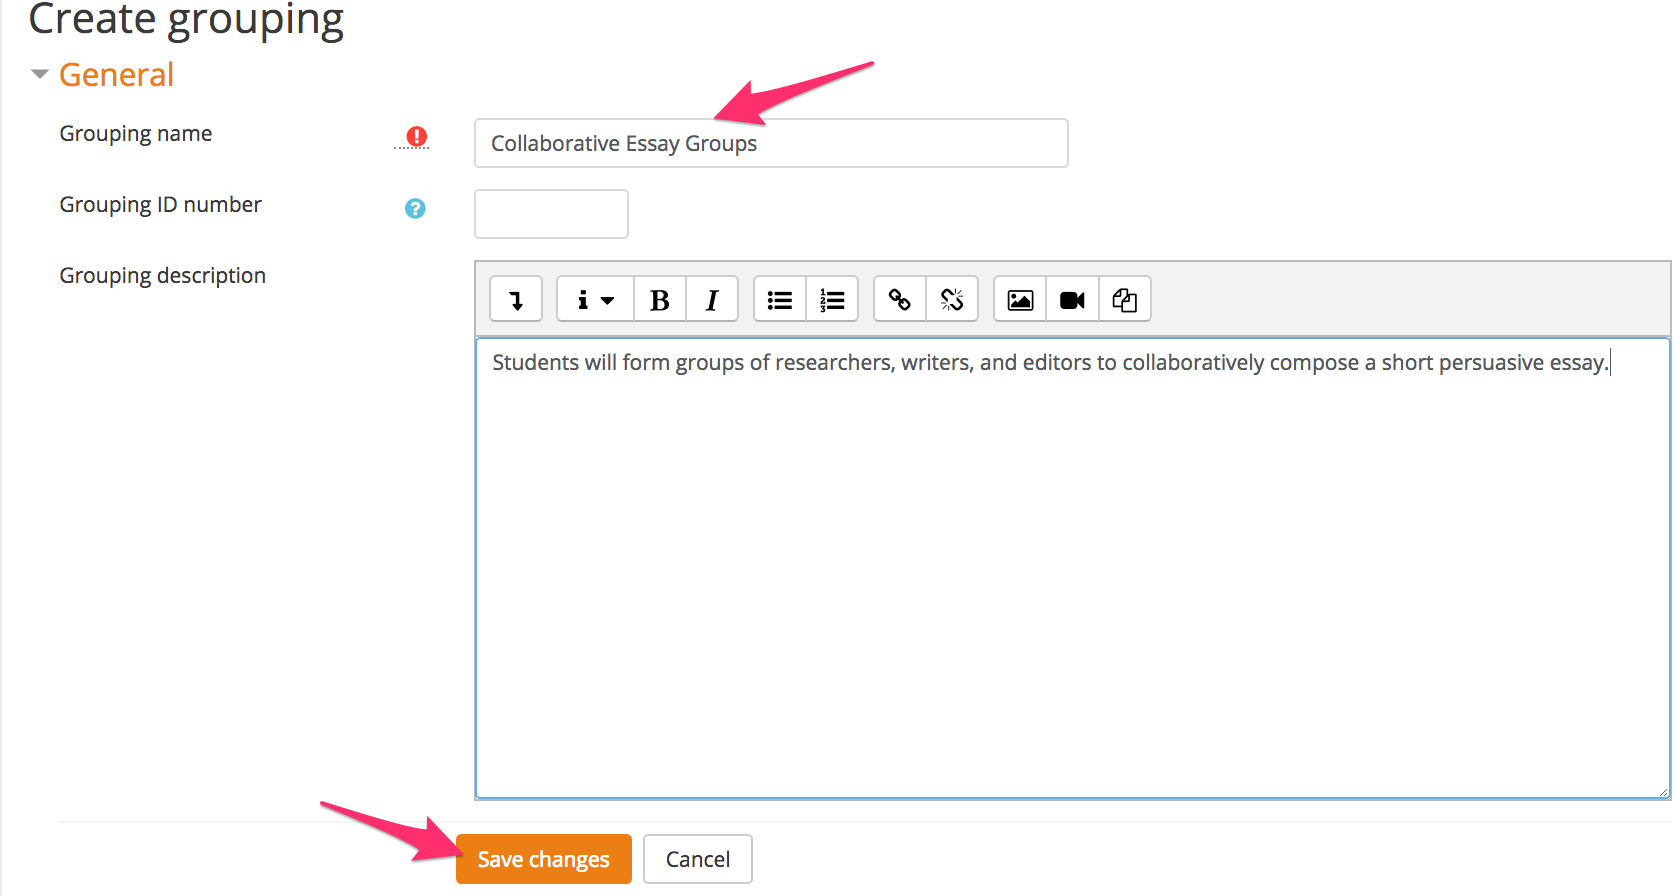
- Click Save changes.
Part 2
ASSIGN GROUPS TO THE GROUPINGS
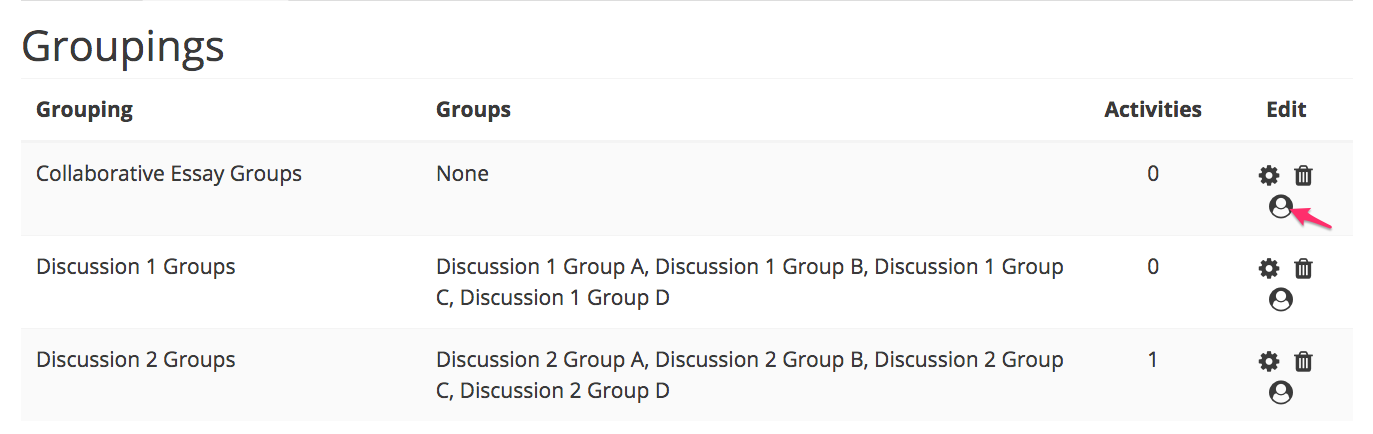
- To assign groups into your new grouping, click the Groups icon in the edit column (in most courses, this icon looks like a person).
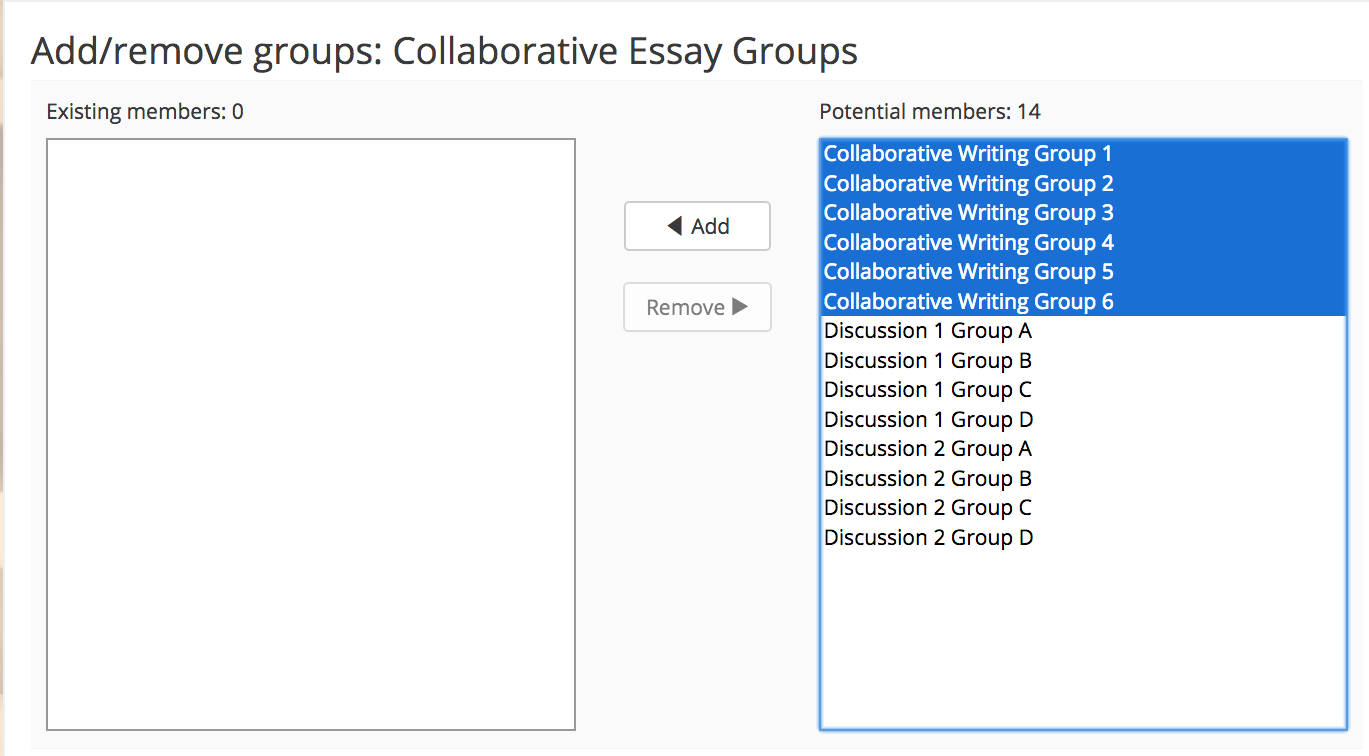
- Select the groups you want to add from the "Potential Members" list. Click Add to move selected groups to the "Existing members" list.
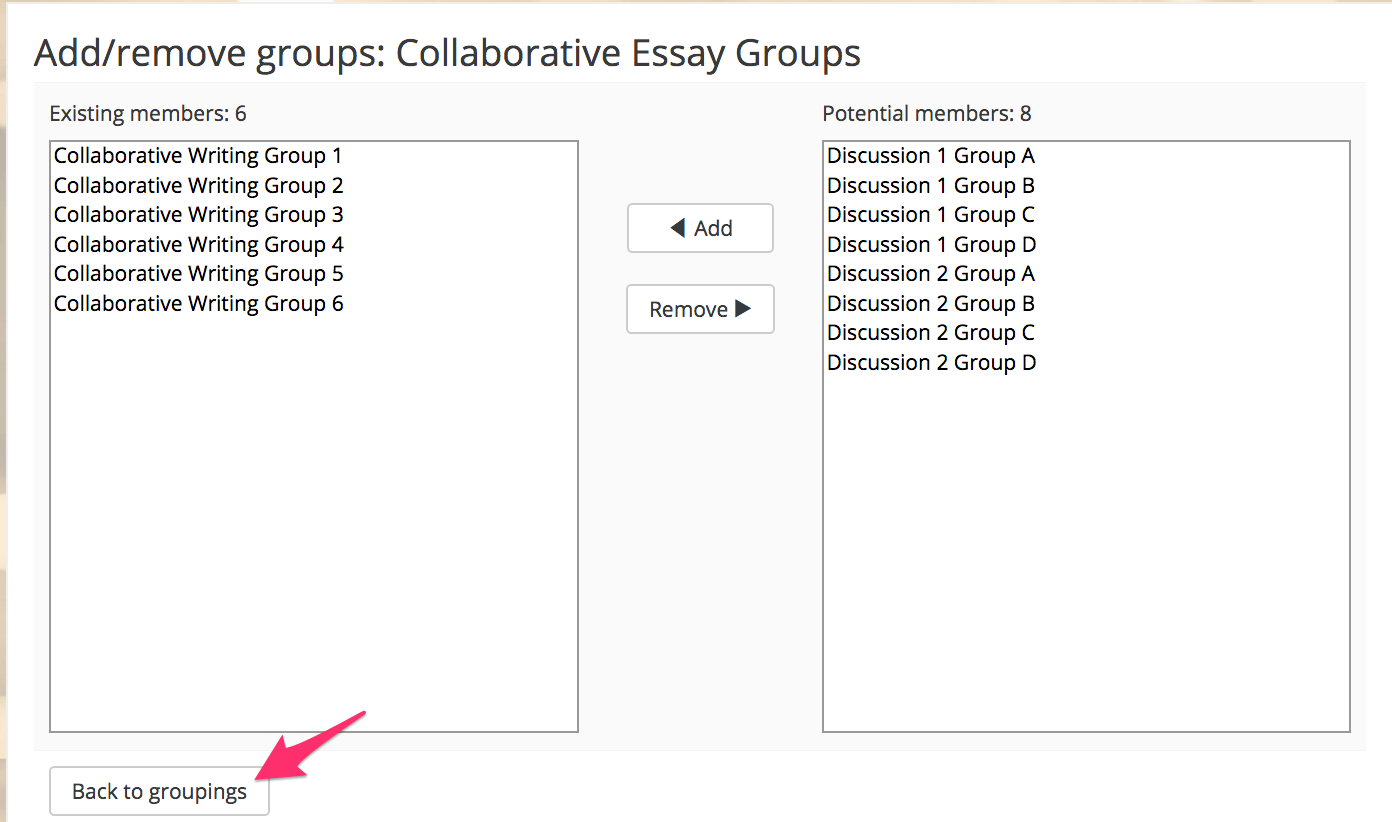
- Once you have moved all the needed groups, click Back to Groupings.
- In the activities where you want to use these groups, you can select the grouping you created in the "Common module settings" section. In assignment activities, you select groupings in the "Group submission settings" section.
arrow_right_alt
Go back all guides